Introduction
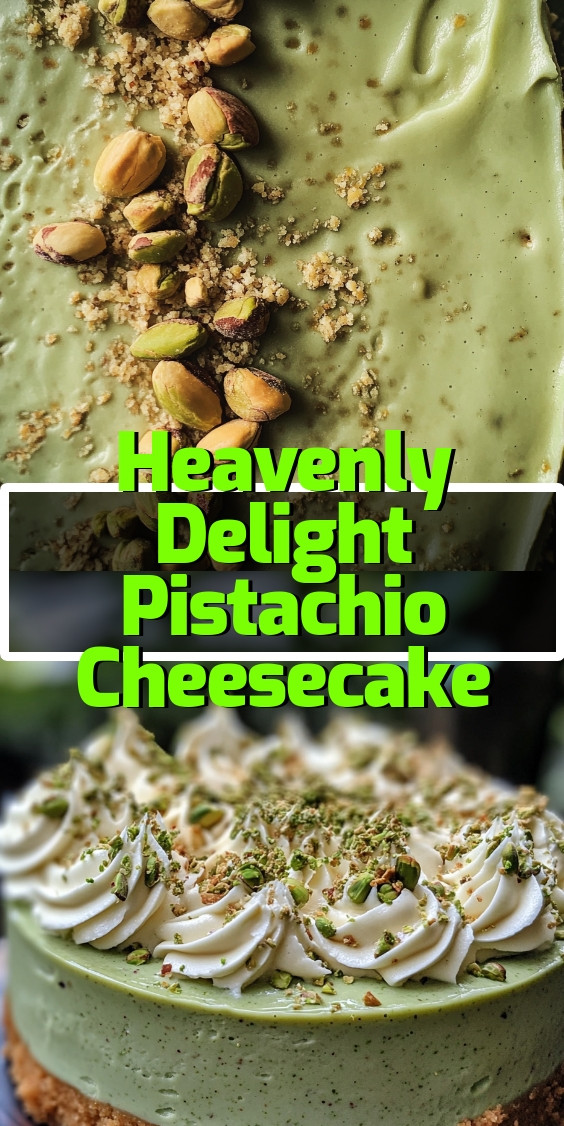
There’s something magical about desserts that can turn an ordinary day into a cherished memory. The Heavenly Delight Pistachio Cheesecake is one such treat that can bring warmth and joy to your home. Imagine gathering with loved ones, laughter echoing around the table, and seeing their faces light up with delight as they take their first bite. This cheesecake isn’t just a dessert; it’s an experience, a sweet way to celebrate life’s special moments, whether big or small.
As you prepare to create this delicious masterpiece, you’ll find that it’s not only about the end result but also about the love and care you put into the process. Making this Pistachio Cheesecake can be a delightful escape from the hustle and bustle of daily life. With each step, you’ll discover that this recipe invites simplicity and joy, allowing you to focus on what truly matters—sharing love and happiness through food.
Why We Love This Heavenly Delight Pistachio Cheesecake
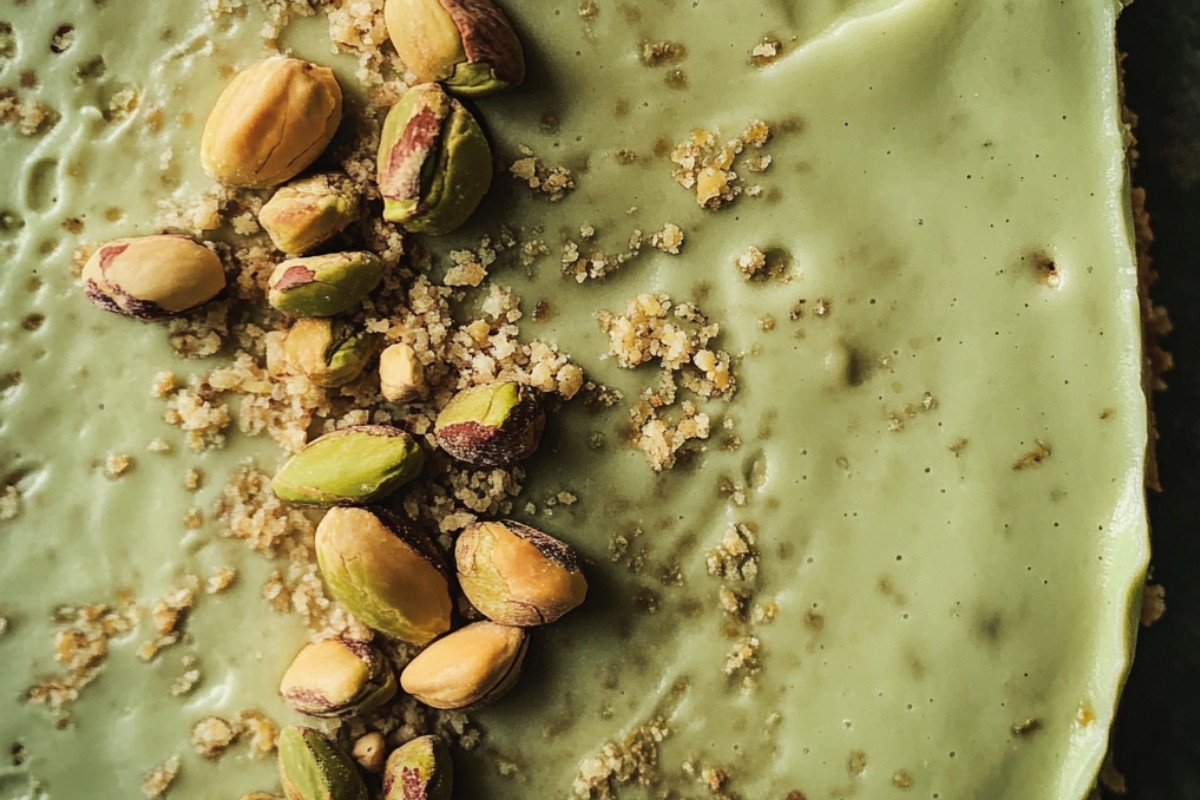
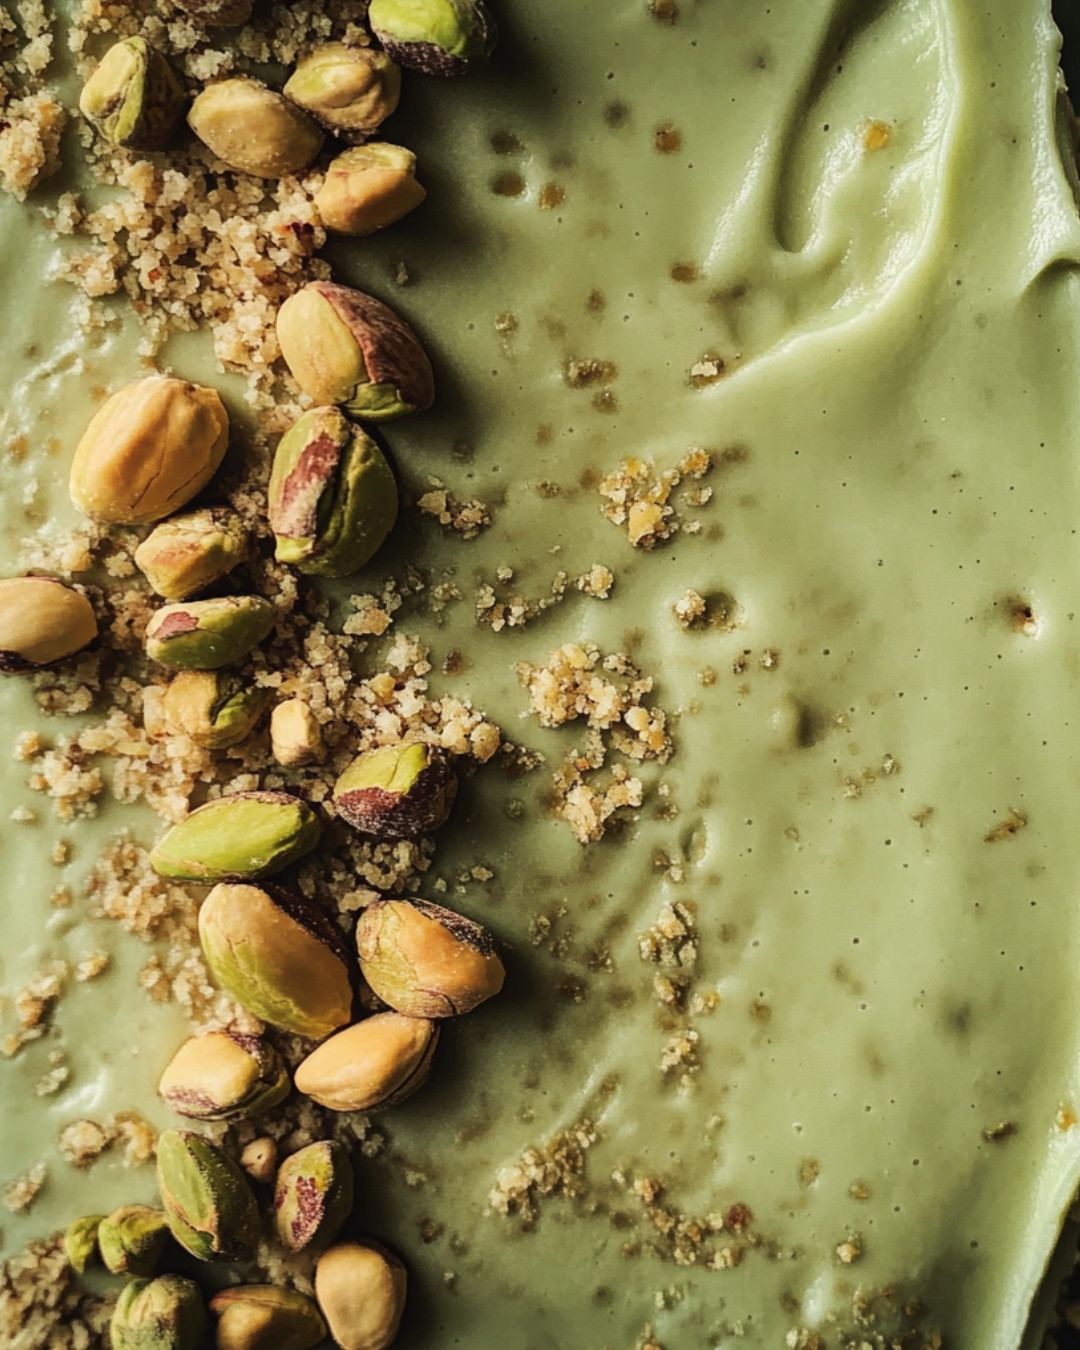
The Pistachio Cheesecake features a wonderfully smooth and creamy filling that is simply irresistible. The richness of cream cheese blends perfectly with the nutty flavor of pistachios, creating a balanced taste that dances on your palate. Every bite is a little piece of heaven, reminiscent of sunlit afternoons spent in good company.
The crust of the Pistachio Cheesecake is another delightful aspect, providing just the right amount of crunch to complement the creamy center. Made with simple ingredients, the crust comes together effortlessly and sets the stage for the cheesecake’s heavenly filling. It’s a perfect combination that will have you reaching for seconds, and maybe even thirds!
Easy Steps to Make Your Own Pistachio Cheesecake
Creating your own Pistachio Cheesecake is not only achievable but also incredibly enjoyable! Each step is straightforward, making it an ideal recipe for busy moms and professionals alike. From mixing the crust to blending the creamy filling, the process flows easily, allowing you to savor the moment. You’ll find that even the preparation and clean-up are simple, letting you focus more on what you love—spending time with family and friends.
What makes this recipe even more appealing is its low-carb nature, catering to a variety of dietary preferences without sacrificing taste. You can indulge in a delightful slice of Pistachio Cheesecake while feeling good about your choice. It’s the perfect dessert for gatherings, celebrations, or when you just want to treat yourself and bask in a moment of joy.
Step-by-Step Cooking Instructions
Now that you’ve gathered all the delightful ingredients for your Pistachio Cheesecake, it’s time to transform these components into a delightful dessert that will impress everyone. Follow each step carefully, and soon you will have a creamy, nutty, and utterly irresistible Pistachio Cheesecake that could easily be the star of any gathering!
Step 1: Prepare the Crust
Start by preheating your oven to 350°F (175°C). While the oven warms up, you’ll need to crush some graham crackers to create the base of your crust. Place the crackers in a zip-top bag and use a rolling pin to crush them into fine crumbs. This step is fun and a great stress-reliever! Once crushed, combine the crumbs with melted butter and sugar in a mixing bowl. Mix everything together until the mixture resembles wet sand. Press this mixture firmly into the bottom of a springform pan to create a solid base for your Pistachio Cheesecake. You want to ensure it’s packed tightly!
Step 2: Make the Cheesecake Filling
In another large mixing bowl, beat together cream cheese and sugar until the mixture is smooth and creamy. To achieve the perfect texture, use a hand mixer or stand mixer on medium speed. This is where the magic begins! Afterward, add in your eggs one at a time, mixing well after each addition. Next, stir in the vanilla extract and finely chopped pistachios. The vibrant green bits will add color and flavor to your Pistachio Cheesecake. Mix until everything is well combined, but be careful not to overmix.
Step 3: Combine and Pour
Now it’s time to combine the crust and filling! Pour your creamy cheesecake mixture over the crust in the springform pan. Use a spatula to spread it evenly. Tap the pan gently on the countertop to release any air bubbles. This small step ensures your Pistachio Cheesecake will have a smooth surface that’s just as beautiful as it is delicious.
Step 4: Bake to Perfection
Place your springform pan in the preheated oven and bake for about 45-50 minutes. The cheesecake is done once the edges are set, and the center is slightly jiggly. It will firm up as it cools, so don’t worry if it looks a little wobbly! Envelop your kitchen in the sweet scent of baking as you wait.
Step 5: Cool and Chill
Once baked, remove the cheesecake from the oven and let it cool in the pan for at least an hour. Then, carefully run a knife around the edges to prevent sticking, and refrigerate your Pistachio Cheesecake for at least 4 hours, or overnight for best results. Patience is key here—allowing it to chill will make it easier to slice!
Step 6: Serve and Enjoy
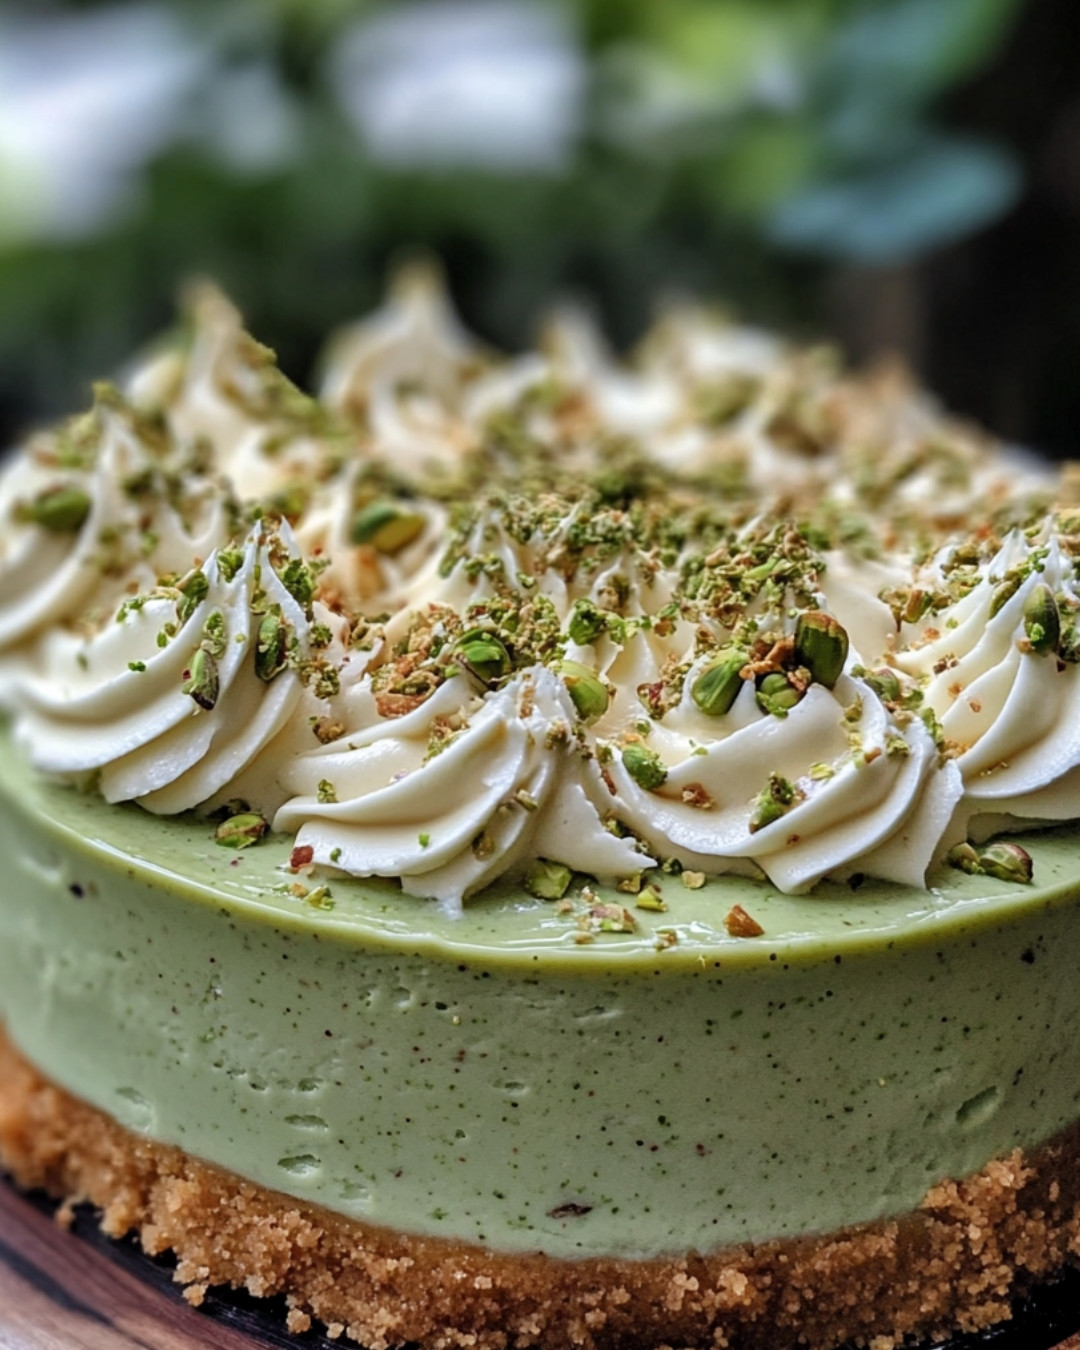
When it’s time to indulge, carefully remove the sides of your springform pan. Slice the Pistachio Cheesecake into beautiful pieces and serve it with dollops of whipped cream or more chopped pistachios for added texture. Savor every bite of your creation, sharing it with friends and family or keeping it all to yourself!
Detailed Directions and Instructions
Step 1: Prepare the Crust
The foundation of your Pistachio Cheesecake is crucial. Preheating the oven sets the stage for consistent baking. As you crush the graham crackers, let yourself enjoy the simple joy of the task. After mixing the crumbs with melted butter and sugar, firmly press the mixture into the springform pan. The key is to compress it well, ensuring a solid crust that holds together after baking.
Step 2: Make the Cheesecake Filling
When mixing cream cheese and sugar, aim for a light and airy texture. Remember to scrape down the bowl to ensure every bit is mixed perfectly. The addition of eggs is another moment of magic—watch as the mixture transforms. Incorporating vanilla and pistachios not only enhances the flavor but also adds beautiful green specks throughout your cheesecake.
Step 3: Combine and Pour
Pouring the filling over the prepared crust is where anticipation builds. Make sure the mixture is evenly distributed to avoid any uneven slices later on. Tapping the pan is a small but necessary step to achieve that perfect, smooth finish.
Step 4: Bake to Perfection
As the cheesecake bakes, enjoy the sweet aroma filling your kitchen. Watching it rise in the oven is thrilling! Remember, it might not look perfect at first, but the cooling process works wonders—just let it be.
Step 5: Cool and Chill
Once out of the oven, exercise a little patience. The cooling period allows the flavors to meld and the texture to achieve that required creaminess. Running a knife along the edges is essential so the sides of the cheesecake don’t stick, ensuring a beautiful presentation.
Step 6: Serve and Enjoy
The final reveal! As you slice into the Pistachio Cheesecake, notice the smooth, creamy texture. Each slice should look inviting—adorn it with whipped cream or pistachios to elevate its appearance. Take a moment to appreciate your hard work, and enjoy sharing this delightful treat!
Notes
Perfect Pairings
Consider serving your Pistachio Cheesecake with fresh fruit, such as raspberries or strawberries. Their tartness complements the creamy, nutty flavors beautifully.
Storage Tips
To maintain freshness, store leftover cheesecake in an airtight container in the refrigerator. It’s delicious cold and can last up to a week!
Customizing Flavors
Feel free to explore flavors by adding different nuts or a hint of lemon zest to the cheesecake batter. Each variation can infuse your creation with a personal touch.
Elevate Your Dessert Game
Creating a stunning dessert like Pistachio Cheesecake not only fills your home with mouthwatering scents but also brings a sense of accomplishment. As you master the art of cheesecake, consider experimenting with various toppings and different types of nuts or flavors. Each attempt will bring you closer to discovering your favorite.
Your Perfect Event Dessert
Whenever you have a gathering or celebration, a homemade Pistachio Cheesecake will undoubtedly elevate the occasion. Not only does it taste incredible, but its beautiful green hue and creamy texture make it an eye-catching centerpiece.
Gathering Family Around the Table
Preparing a Pistachio Cheesecake isn’t just about the dessert; it’s about creating memories with friends and family. Enjoy the process, share stories, and delight in the joy of togetherness over a slice of this indulgent treat. The act of cooking together can make any gathering feel special and warm, perfect for making lasting connections.
Common Mistakes to Avoid
When making your Pistachio Cheesecake, avoid overmixing after adding the eggs, as this can lead to cracks during baking. Additionally, ensure your cream cheese is at room temperature for a smooth filling. Lastly, refrain from opening the oven door while baking—each peek lets out heat, potentially affecting the consistency of your cheesecake!
Key ingredients
- Pistachios (finely chopped)
- Crushed graham crackers
- Unsalted butter (melted)
- Cream cheese (softened)
- Granulated sugar
- Vanilla extract
- Eggs
- Sour cream
- Green food coloring (optional)
- Chopped pistachios (for garnish)
Preparation Time
- Prep Time: 20 minutes
- Cook Time: 60 minutes
- Total Time: 1 hour 20 minutes
- Yield: 8 servings
Cook techniques
Crust Preparation
To create a perfect crust for your Pistachio Cheesecake, use crushed cookies or graham crackers mixed with melted butter. Press this mixture firmly into the bottom of your springform pan, ensuring an even layer for a sturdy foundation.
Cheesecake Mixing
When mixing the filling for your Pistachio Cheesecake, start with room temperature cream cheese for a smooth texture. Combine it with sugar, eggs, and pistachio flavoring, mixing until the ingredients are fully blended but avoid overmixing to prevent air bubbles.
Baking Method
Bake the cheesecake in a water bath to maintain moisture and regulate temperature. This helps achieve a creamy consistency and reduces the risk of cracks on the surface of your Pistachio Cheesecake.
Cooling Techniques
After baking, allow the cheesecake to cool slowly in the oven with the door ajar. This gradual cooling process helps prevent sudden temperature changes that can cause cracks.
Serving Temperature
For the best flavor and texture, serve your Pistachio Cheesecake chilled. Allow it to sit at room temperature for about 15-30 minutes before serving to enhance its taste.
Serving and Presentation Ideas:
For an elegant presentation, top your Pistachio Cheesecake with finely chopped pistachios or a drizzle of melted chocolate. Consider serving it alongside fresh berries or a dollop of whipped cream for an added touch of sweetness. Pair it with a cup of coffee or a rich dessert wine to complement the flavors beautifully.
People Also Ask :
What pairs well with pistachio cheesecake?
Fresh berries, chocolate sauce, or a scoop of vanilla ice cream complement Pistachio Cheesecake nicely, enhancing its flavors.
What is so special about cheesecake?
Cheesecake is beloved for its creamy texture and rich, sweet flavor, making it a delightful dessert choice for various occasions.
Why do so many people like cheesecake?
Its versatility allows for countless flavor variations, appealing to a wide range of tastes and preferences.
What is a good description for cheesecake?
Cheesecake is a rich, creamy dessert made with cheese, eggs, and sugar on a crumbly crust, often enjoyed for its lush texture and delectable taste.
Conclusion
In closing, the Pistachio Cheesecake is not just a dessert; it’s a celebration of flavors and textures that brings joy to any occasion. Its creamy filling and delightful crust create a sublime experience for your taste buds. As you make this recipe, consider the memories you’ll create around the table with friends and family. What unique twists or garnishes have you tried with your Pistachio Cheesecake? We’d love to hear your stories and ideas!
FAQ
Can I use a different type of cracker?
Yes, alternative crackers like vanilla wafers or gluten-free options can be used to create the crust for your Pistachio Cheesecake.
How do I store leftover cheesecake?
Store leftover Pistachio Cheesecake in an airtight container in the refrigerator for up to five days for optimal freshness.
Can I freeze cheesecake?
Freezing chocolate cheesecake is possible. Wrap it tightly in plastic wrap and aluminum foil, and it can last up to three months in the freezer.
Can I make a mini cheesecake version?
Absolutely! You can use a muffin tin to create mini Pistachio Cheesecakes for individual servings, perfect for parties.