Introduction
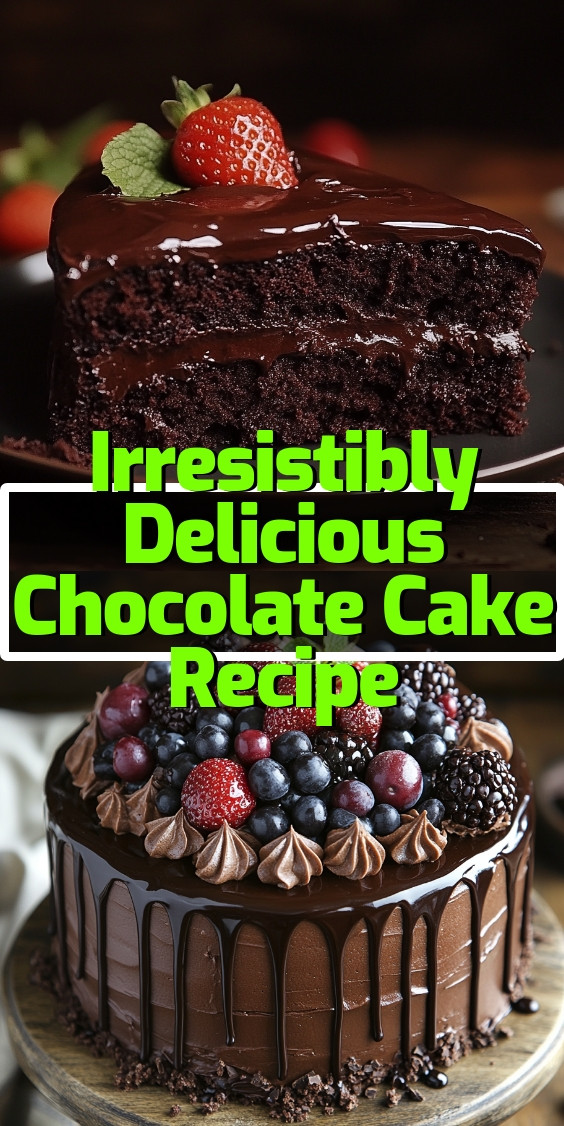
Have you ever thought about the moments shared over a slice of cake? The joy of celebrating small victories, the comfort found during tough times, or simply indulging in a sweet treat at the end of a long day? A delightful Irresistibly Delicious Chocolate Cake Recipe can transform ordinary days into memorable ones. It is more than just a dessert; it’s an experience that nourishes both the body and the soul.
Picture this: You walk into your kitchen, the aroma of freshly baked goodies enveloping you like a warm hug. As you prepare this rich and velvety cake, love and care flow into each layer. When the cake is finally ready and adorned, it becomes a centerpiece for laughter and connection. Sharing a slice with family and friends can create moments that linger in your heart for a lifetime.
Why we love this recipe: Layers of Bliss
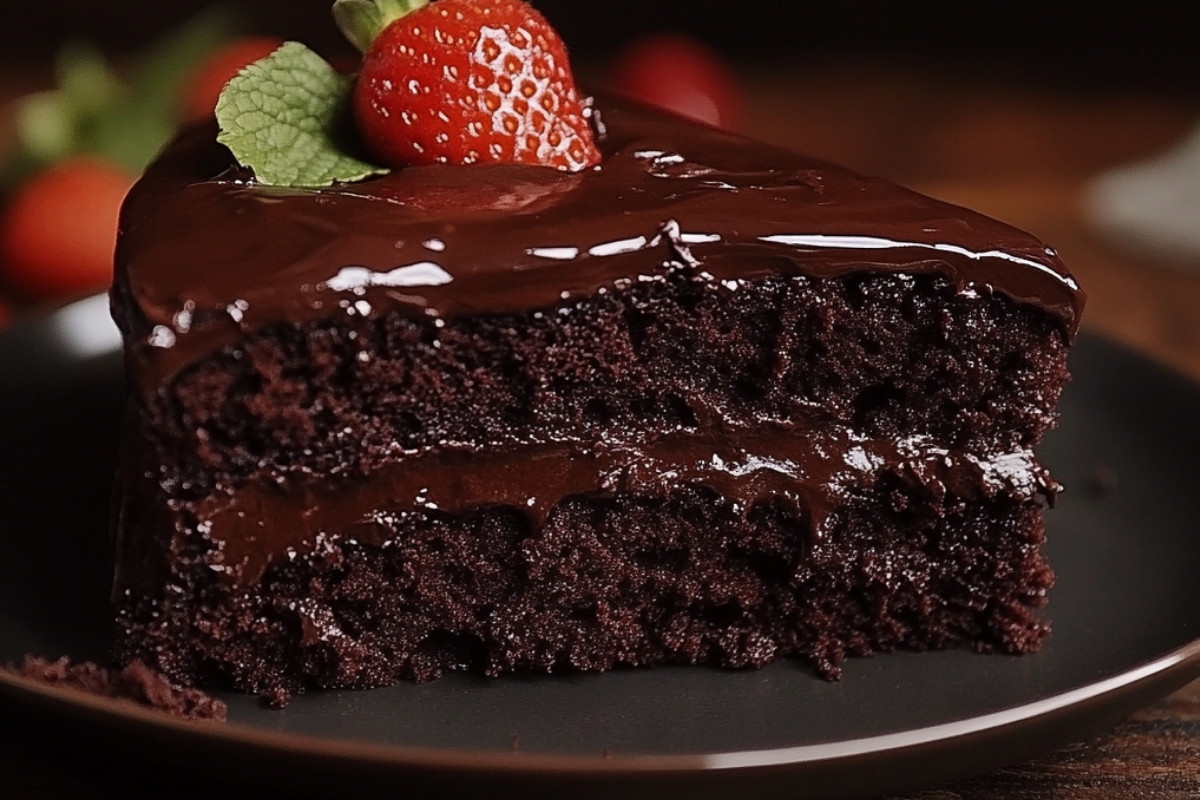
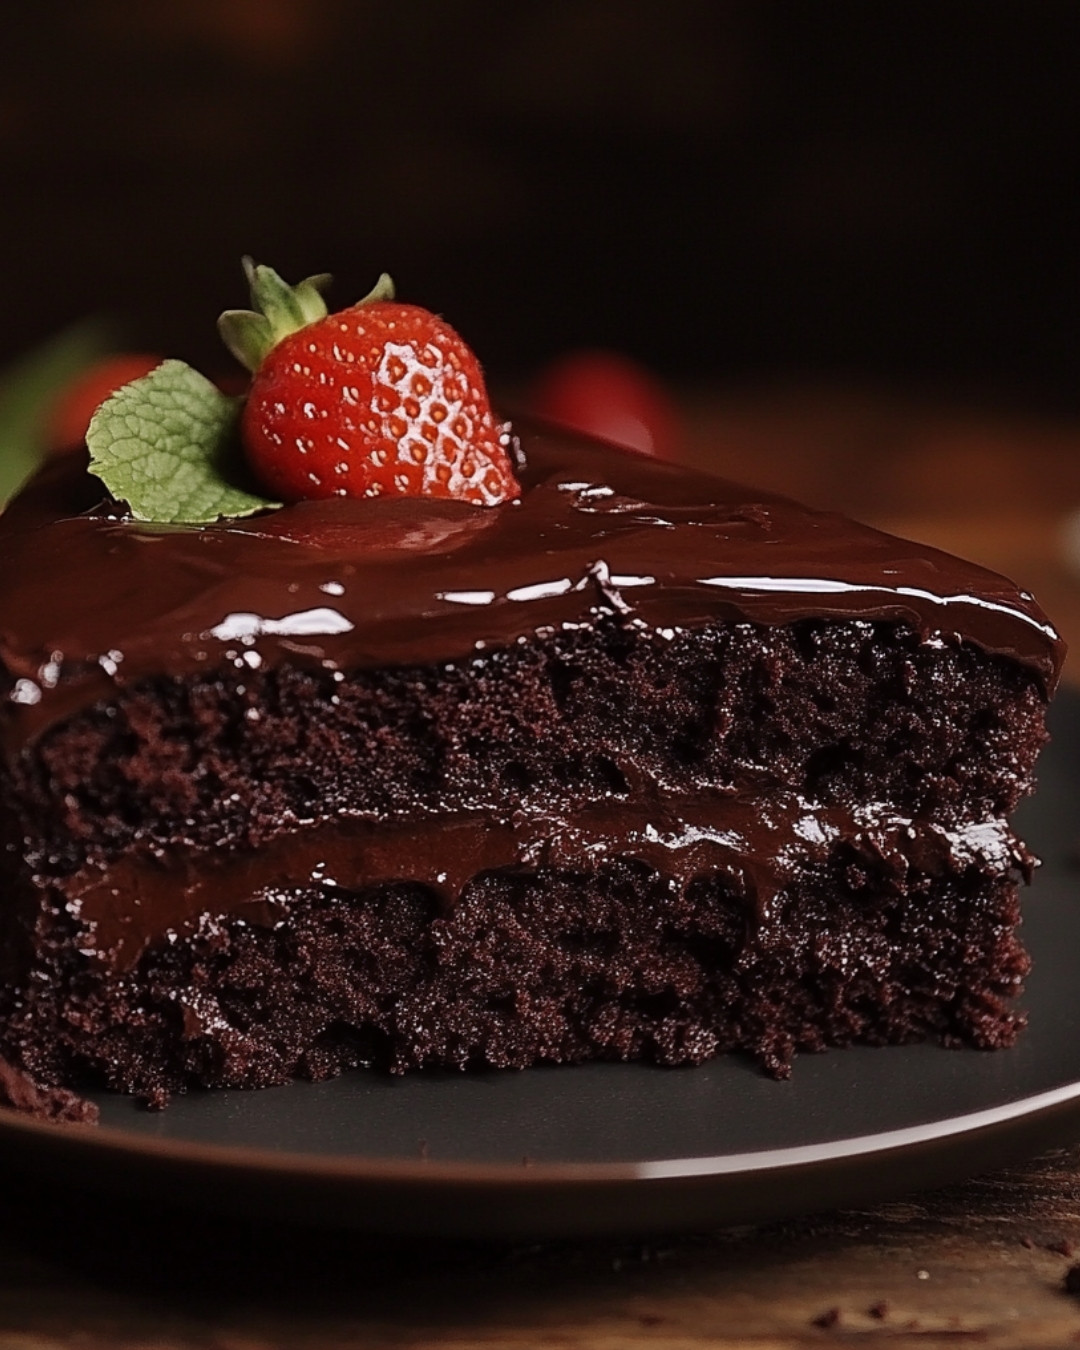
The cake has multiple layers of moist goodness that melt in your mouth. Each bite offers a blend of rich chocolate flavors that satisfies cravings and delights the senses. Everyone knows that a well-made cake is an invitation to indulge, and this recipe does just that.
What makes this Chocolate Cake truly special is its simplicity. All the ingredients come together easily, allowing you to create something extraordinary without spending hours in the kitchen. This cake isn’t just about taste; it’s about the joy and love that fills the room when shared with others.
Chocolate Cake Delights Anyone
This Chocolate Cake is designed to please everyone, regardless of age. The combination of rich flavors appeals to both young and old, making it a hit at family gatherings or casual get-togethers. Whether you enjoy it plain, topped with fresh berries, or served with a scoop of ice cream, this cake adapts to your personal touch.
With just a few ingredients and simple steps, you’ll find it’s quite easy to bring this cake to life. Sharing it with loved ones creates an instant bond, reminding us all of how food has the power to unite. Make it for birthdays or just to brighten an ordinary day; this Chocolate Cake is a delicious reminder of the sweetness life has to offer.
Step-by-Step Cooking Instructions
Now that you’ve gathered all your ingredients and tools, it’s time to transform simple components into the delightfully rich, multilayered creation that is an exquisite Opera Cake. Follow these steps carefully, and you’ll craft a dessert that will impress anyone fortunate enough to take a bite.
Step 1: Prepare Your Workstation
Start by ensuring your kitchen is clean and organized. Having all your tools—mixing bowls, spatulas, whisk, measuring cups—within arm’s reach will make the process smoother and more enjoyable. This setup is crucial for maintaining a good flow while you bake your stunning layers.
Step 2: Create the Almond Sponge Cake
In a bowl, combine almond flour, all-purpose flour, and sugar. Mix them well until they’re fully blended. Next, whisk eggs separately until they’re light and frothy, which will add airiness to your cake. Gently fold the egg mixture into the dry ingredients. The goal is to keep all that lovely air in the batter for a light, delicious sponge. Pour and spread this mixture onto a lined baking tray and bake until golden brown. Your kitchen will soon be filled with a warm, nutty aroma that screams decadence!
Step 3: Whip the Coffee Buttercream
While your cake cools, it’s time to whip up the luxurious coffee buttercream. Beat softened butter until it’s creamy and fluffy. Gradually add powdered sugar, mixing in coffee and vanilla extract to enhance the flavor. Continue beating until the mixture is smooth and spreadable. This heavenly buttercream is essential for that rich flavor in your Opera Cake.
Step 4: Brew the Coffee Syrup
Boil water, sugar, and coffee grounds together, stirring occasionally until the mixture thickens. This coffee syrup will infuse your cake layers with an irresistible flavor, making each slice more delightful than the last. Allow it to cool slightly before using; the aroma should tantalize your senses!
Step 5: Assemble the Layers
Once your sponge cake is cool, cut it into even layers. Begin assembling your Opera Cake by brushing a layer of the coffee syrup on the sponge cake. Next, spread a generous layer of coffee buttercream on top, then add another sponge layer and repeat the process. Continue layering until you reach the top, finishing it off with a final layer of buttercream.
Step 6: Glaze the Cake
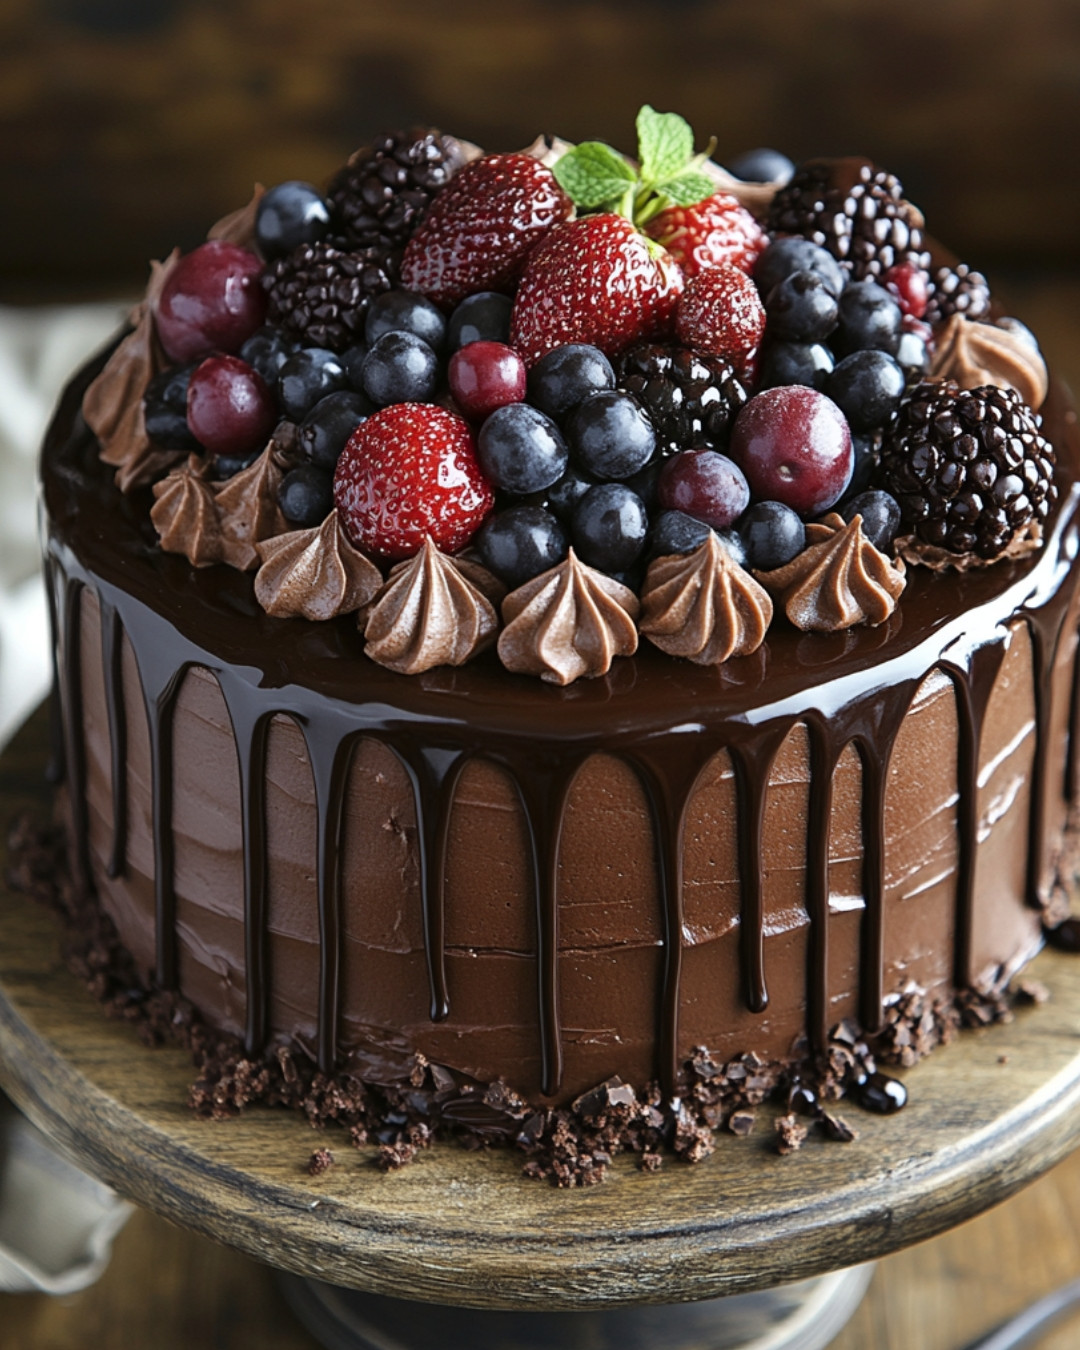
For a show-stopping final touch, prepare a glossy chocolate glaze. Melt chocolate and cream together until smooth, and then pour it gently over the assembled cake, allowing it to drip down the sides for that perfect, dramatic finish. Let the cake chill until set; this is when it gets even better!
Step 7: Slice and Serve
Once the Opera Cake has chilled, it’s time to cut it into portions. Using a sharp knife, slice through the layers and reveal the beautiful design. Each slice should showcase the stunning layers of cake, buttercream, and glossy chocolate. Serve immediately and watch your guests’ eyes light up at the sight!
Detailed Directions and Instructions
Notes
Step 1: Gather All Ingredients
Make sure to gather all ingredients before starting the process. This will avoid any rushing back and forth.
Step 2: Mixing Matters
When folding in the egg mixture, be gentle. Over-mixing can deflate the batter, resulting in a dense cake.
Step 3: The Importance of Cooling
Letting the cake layers cool completely before assembling is crucial. This prevents melting the buttercream and ruining the cake’s structure.
Tips for a Show-Stopping Chocolate Cake
Enhancing the flavors in your Opera Cake can be easily achieved by using high-quality chocolate for the glaze. Consider adding a dash of espresso powder to your buttercream for an even deeper coffee flavor. Using fresh, flavorful ingredients makes a significant difference!
Making it Your Own
Feel free to experiment with flavors! While traditional Opera Cake showcases coffee and chocolate, why not try adding some orange zest or a hint of almond extract in the buttercream? Your personal twist can turn this classic into a signature dessert!
The Art of Presentation
Don’t let your hard work go unnoticed! Garnish your Opera Cake with chocolate shavings or edible gold leaf for that extra touch of elegance. A beautiful presentation elevates the dining experience and showcases the love that went into making this beautiful cake.
Common Mistakes to Avoid
One common mistake is not allowing the layers to cool sufficiently, which can lead to melting when you apply the buttercream. Another pitfall is cutting the cake too soon, resulting in messy slices. Be patient—waiting for the flavors to meld will reward you with an even better taste experience!
Detailed Ingredients with measures
- 1 ½ cups almond flour
- 1 cup granulated sugar
- 5 large eggs
- 1 cup dark chocolate, chopped
- 1 cup heavy cream
- ½ cup brewed coffee, cooled
- 1 teaspoon vanilla extract
- 2 tablespoons of coffee liqueur (optional)
- Cocoa powder for dusting
Preparation Time
- Prep Time: 30 minutes
- Cook Time: 25 minutes
- Total Time: 55 minutes
- Yield: 8 servings
Cook techniques
Layering the Cake
Carefully layer the different components of the opera cake, including the coffee-soaked genoise, chocolate ganache, and buttercream. This technique ensures a balanced flavor in every bite.
Chilling Between Layers
Make sure to chill the cake between layers. This helps to set the components and maintain clean lines when slicing the cake for service.
Creating a Mirror Glaze
For a glossy finish, consider making a mirror glaze with chocolate and cream. This technique enhances the appearance and adds an elegant touch to your presentation.
Serving and Presentation Ideas:
Serve the opera cake on a decorative platter, garnishing with coffee beans and chocolate shavings. Pair it with a dollop of whipped cream or a scoop of vanilla ice cream to complement the rich flavors. Consider using edible gold leaf for a luxurious touch.
People Also Ask :
What are the ingredients in opera cake? The ingredients typically include coffee, chocolate, butter, eggs, sugar, almond flour, and heavy cream, layered expertly to create a multi-textured dessert.
What is the difference between tiramisu and opera cake? While both desserts feature coffee flavors, tiramisu is more creamy and contains mascarpone cheese, whereas opera cake is characterized by layers of cake, ganache, and buttercream.
Why is it called an opera cake? The cake is believed to be named after the Paris Opera House due to its stylish layering and rich flavors, reminiscent of the opulence associated with opera.
What was Julia Child’s favorite cake? One of Julia Child’s favorite cakes was the classic chocolate cake, showcasing her love for rich, flavorful desserts.
Conclusion
The opera cake is not just a dessert; it’s a celebration of flavors and textures, inviting you to indulge in its elegance. Each layer tells a story, from rich chocolate to soothing coffee, creating a masterpiece that’s perfect for any occasion. As you embark on this baking journey, remember that the joy of creating is as rewarding as the final result. Have you tried your own twist on the opera cake? We would love to hear about your experiences and any variations you’ve made!
FAQ
Can I use a different type of chocolate?
Yes, you can experiment with different types of chocolate for varied flavor profiles, including dark, milk, or even white chocolate for the ganache.
How long can I store opera cake?
Opera cake can be stored in the refrigerator for up to a week, but it is best enjoyed fresh to appreciate the flavors.
Can I make opera cake gluten-free?
Absolutely! Substitute almond flour with a gluten-free blend to create a gluten-free version of this delightful cake.
Is opera cake suitable for kids?
Opera cake has a distinct coffee flavor which may not appeal to all children, but with modifications like omitting coffee or using a chocolate flavor, it can be made more kid-friendly.