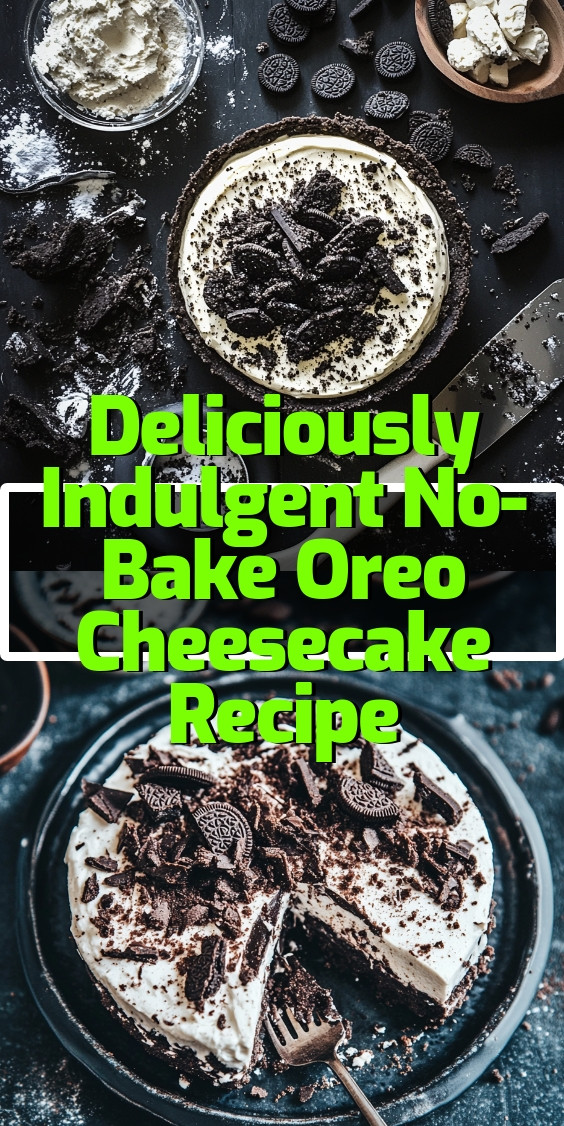
Indulge in a Little Sweetness
As we navigate the hustle and bustle of our daily lives, we often find ourselves seeking little moments of joy. There’s nothing quite like the satisfaction of creating something delightful in the kitchen, especially when it’s a no-fuss recipe that promises to impress. If you’ve ever felt the tug of wanting to treat yourself or your loved ones, the delightful No-Bake Oreo Cheesecake might just be what you need. It’s a charming, accessible dessert that requires no baking, making it a perfect option for those of us who may not have hours to spare.
Many of us cherish the tradition of celebrations, and cakes play a central role in those memorable moments. The No-Bake Oreo Cheesecake captures that celebratory essence beautifully, providing a rich and creamy experience that melts in your mouth. You can almost visualize the smiles around the table as your loved ones enjoy each slice, leaving them wanting more of this sweet delight. So, roll up your sleeves and prepare for a burst of chocolatey joy!
Why we love this recipe No-Bake Oreo Cheesecake
Tender cookies: The cookie crust of the No-Bake Oreo Cheesecake combines rich and crunchy Oreo cookies, delivering the ultimate dessert experience. Creamy filling: Each slice reveals a luscious cream cheese filling, perfectly blended with whipped cream, ensuring a heavenly texture. Sweet chocolate flavor: The chocolate flavor is divine, making every bite feel indulgent and satisfying. Easy to make: This dessert comes together in just a few simple steps, making it perfect for our busy lives. No baking required: With no oven involved, this recipe is ideal for warm days or spontaneous gatherings.
Ingredients for No-Bake Oreo Cheesecake
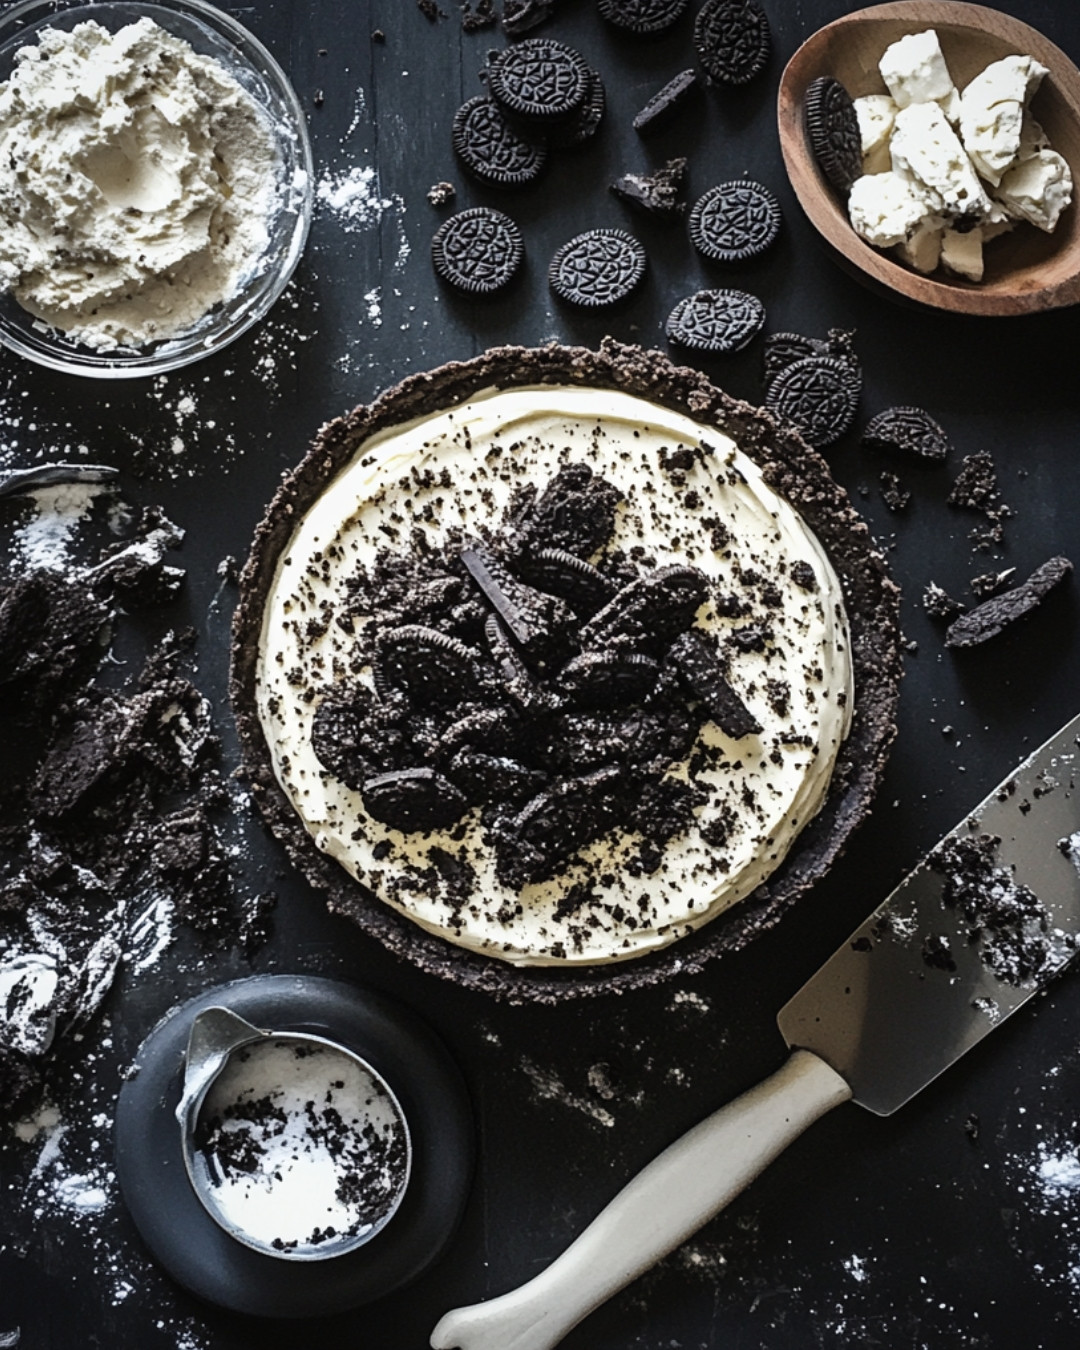
To make this delectable No-Bake Oreo Cheesecake, you will need a few simple ingredients. Start with Oreo cookies for the perfect crust, combined with butter for that rich flavor. For the filling, gather cream cheese, whipped cream, sugar, and a bit of vanilla extract to add depth. Finally, some additional crushed Oreo cookies will enhance the aesthetics and taste of your cheesecake, creating a beautiful presentation. Each of these ingredients works harmoniously to create a dessert that will surely delight everyone at your table.
Tips for Making the Best No-Bake Oreo Cheesecake
For an unforgettable No-Bake Oreo Cheesecake, remember to let your cream cheese soften to room temperature before mixing. This ensures a silky smooth filling that’s devoid of any lumps. When prepping your crust, press the Oreo cookie mixture firmly into the bottom of your pan for better structure. Lastly, chilling the cheesecake for several hours—or even overnight—allows the flavors to meld beautifully. These small tricks will elevate your homemade dessert from good to truly exceptional!
Step-by-Step Cooking Instructions
Now that you’ve gathered all your delightful ingredients and tools, it’s time to transform these simple components into an indulgent no-bake cheesecake that will mesmerize your taste buds. Follow each step carefully, and you’ll create a stunning dessert that’s sure to impress everyone at your gathering. Let’s get started!
Step 1: Prepare the Oreo Crust
Start by crushing the Oreo cookies into fine crumbs. You can use a food processor for a quick job, or place them in a plastic bag and smash them with a rolling pin for some fun! Combine the crumbs with melted butter in a mixing bowl, stirring until every crumb is beautifully coated. Gently press this mixture into the bottom of a springform pan. This forms a deliciously crunchy base that will set the stage for your creamy cheesecake.
Step 2: Make the Cheesecake Filling
In a large mixing bowl, beat together the softened cream cheese and sugar until the mixture is smooth and creamy, resembling a fluffy cloud. This is your base! Pour in the heavy whipping cream and vanilla extract, continuing to beat until you achieve soft peaks. It’s like magic watching it transform! Finally, fold in the chopped Oreos to give the filling that delightful cookie flavor throughout.
Step 3: Assemble the Cheesecake
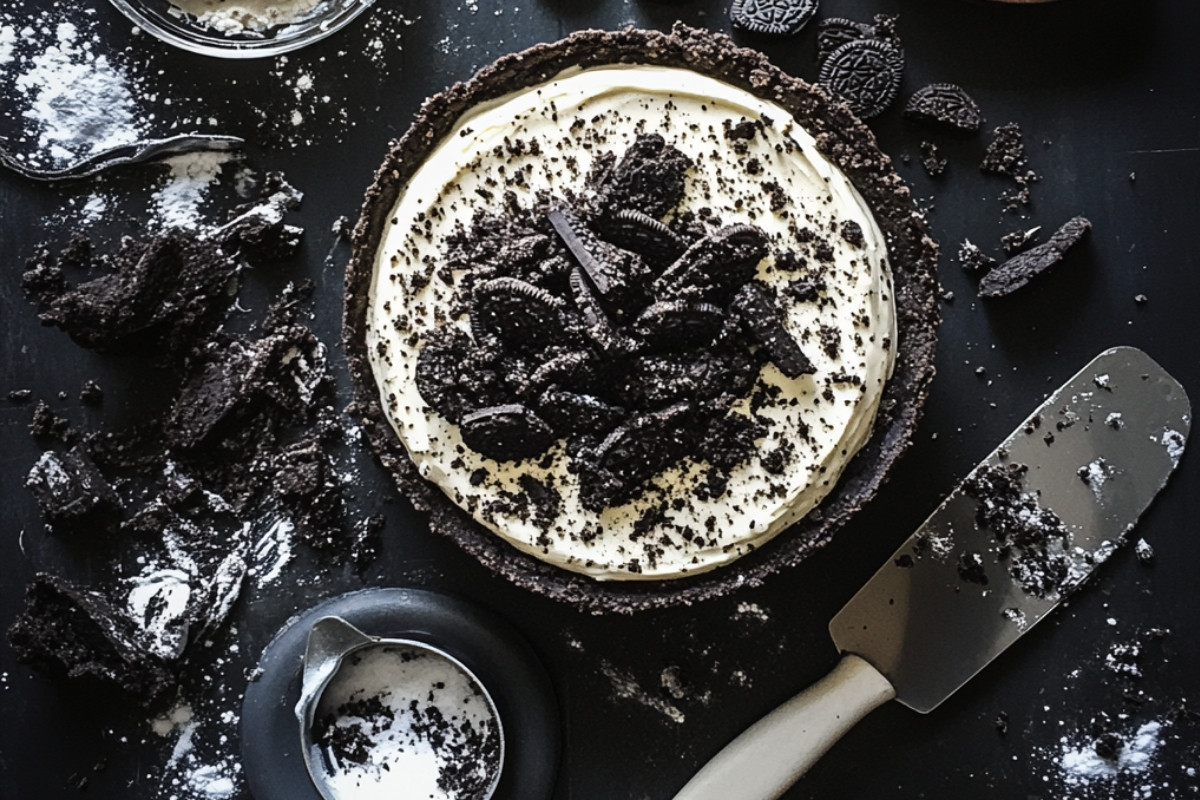
Spread this luscious filling over your prepared Oreo crust, smoothing it out evenly with a spatula. Gently tap the pan on the counter to remove any air bubbles—it’s a great way to ensure a perfectly smooth finish. Now, cover the cheesecake with plastic wrap and refrigerate for at least four hours, or overnight if you can wait! The waiting game is hard, but trust us—the flavor improves as it chills.
Step 4: Serve and Enjoy
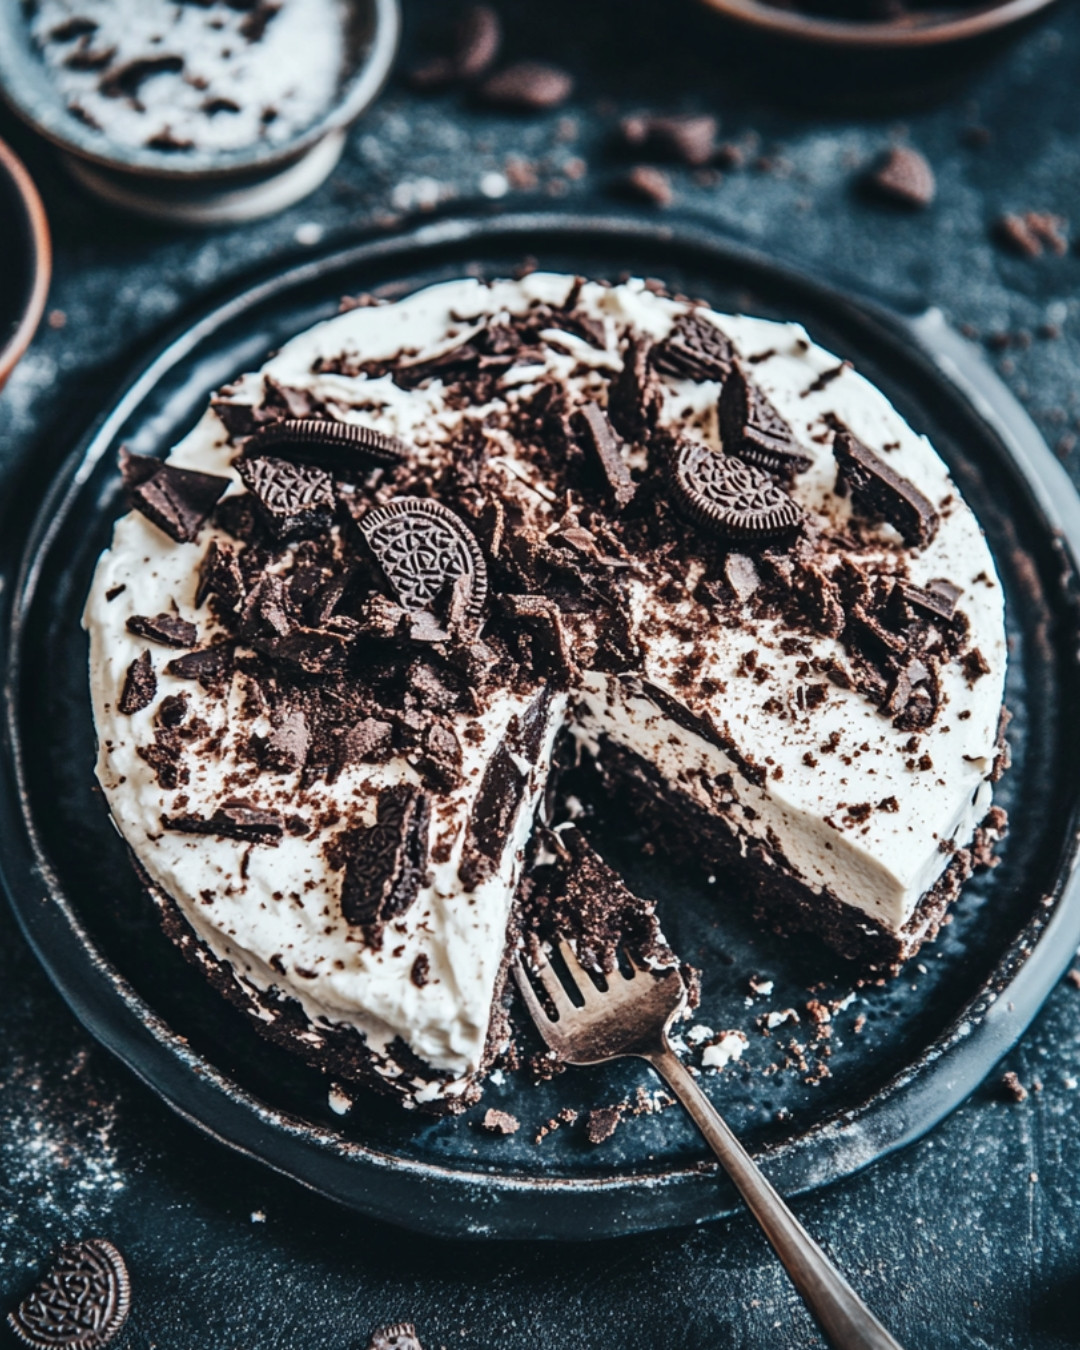
Once your cheesecake has set, it’s time to unveil your masterpiece! Remove it from the springform pan and slice into wedges. For an exquisite touch, you can top each slice with whipped cream and extra crushed Oreos. Gather your family or friends and watch their faces light up with joy as they take that first heavenly bite of your creation.
Detailed Directions and Instructions
Step 1: Prepare the Oreo Crust
Crush those delicious Oreo cookies in a food processor or use a rolling pin inside a zip-top bag, making sure they end up as fine crumbs. Next, melt some butter and combine it with the crumbs in a bowl, making sure every crumb is rich and buttery. Spread this mixture evenly into the bottom of a springform pan, pressing it firmly so that it holds together when serving.
Step 2: Make the Cheesecake Filling
Begin whipping together room temperature cream cheese and sugar until you achieve a creamy consistency that looks rich enough to dive into. Then, pour in heavy whipping cream along with vanilla extract. Mix until you see soft peaks forming; this is where the magic happens! Finally, gently incorporate chopped Oreos for flavor throughout your filling.
Step 3: Assemble the Cheesecake
Transfer the filling to your crust, spreading it out until it’s smooth and even. Give the pan a gentle tap to get rid of any air bubbles hiding in the filling. Cover with plastic wrap and relegate it to the refrigerator for at least four hours—this is essential for a perfect slice! The longer, the better; overnight chilling is recommended for ultimate results.
Step 4: Serve and Enjoy
Once the waiting is over, release your cheesecake from the springform pan carefully. Serve each delightful slice topped with a dollop of whipped cream and a sprinkle of crushed Oreos. Watch everyone dig in and enjoy the delightful flavors of your no-bake golden birthday cake Oreo cheesecake!
Notes
Tip for the Crust
Make sure to press the crust firmly into the pan. A well-packed crust provides a sturdy foundation for your cheesecake.
Room Temperature Ingredients
Using room temperature cream cheese allows for a smoother filling. Take it out of the fridge ahead of time, so it blends effortlessly.
Chilling Time
Patience is key! The longer the cheesecake chills, the better the flavors meld together. Aim for that overnight rest if you can.
Delightful Variations to Try
Feeling adventurous? Consider adding some flavor twists to your cheesecake! Incorporate a layer of raspberry or strawberry puree for a fruity zing. Alternatively, try mixing in some peanut butter with the cream cheese for a nutty delight that pairs beautifully with Oreos.
Fun Facts About Cheesecake
Did you know cheesecake has origins that date back to ancient Greece? They enjoyed it at the first Olympic Games! Today, its versatility is endless, from fruity varieties to chocolate-infused options, making it a favorite for many occasions.
Perfect Occasions for No-Bake Cheesecake
This no-bake Oreo cheesecake is perfect for any special occasion. Be it birthdays, family gatherings, or a cozy dessert night with friends, it promises smiles all around. Prepare it in advance, and you can spend more time enjoying the company of your loved ones!
Common Mistakes to Avoid
One common mistake is not allowing the cheesecake to chill long enough. Rushing this step can lead to a filling that hasn’t fully set. Additionally, be cautious with the mixing process; over-mixing can lead to a dense filling. Always ensure cream cheese and heavy cream are at room temperature for the best texture.
Key ingredients
- OREOS. You will need 24 Oreos for the crust and additional Oreos for the filling.
- BUTTER. Melted butter is used to hold the crust together.
- CREAM CHEESE. Softened cream cheese gives the cheesecake its rich and creamy texture.
- SUGAR. Granulated sugar sweetens the cheesecake.
- HEAVY CREAM. Whipped heavy cream is folded into the cheesecake mixture for extra fluffiness.
- VANILLA EXTRACT. This adds flavor to the cheesecake mixture.
- OREO CRUMBLES. Crushed Oreos are mixed into the cheesecake filling for added flavor and texture.
Preparation Time
- Prep Time: 30 minutes
- Cook Time: 0 minutes
- Total Time: 30 minutes
- Yield: 12 servings
Cook techniques
Chilling the Cheesecake
The no-bake nature of this Oreo cheesecake means it needs to set properly in the fridge. Allow it to chill for at least 4-6 hours, or overnight if possible, to achieve the right texture and stability.
Proper Layering
Creating distinct layers is crucial for presentation and taste. Spread the cream cheese filling evenly over the Oreo crust, and make sure to add a uniform layer of crushed Oreos between layers for added flavor.
Whipping Cream Technique
For a fluffy texture, whip the cream until stiff peaks form before folding it into the cheese mixture. This will lighten the filling and help it set well.
Using a Food Processor
Crushing Oreos can be done easily with a food processor. This method provides a fine, even crumb that works perfectly as a crust and adds to the cheesecake’s overall texture.
Serving and Presentation Ideas:
To serve this delightful no-bake Oreo cheesecake, consider adding whipped cream on top for a decorative touch. Pair with fresh berries like strawberries or raspberries for a contrast of flavors and colors. Presentation can be enhanced using chocolate shavings on top, alongside a drizzle of chocolate or caramel sauce to make it visually appealing.
People Also Ask:
How long does a no-bake cheesecake need to set?
A no-bake cheesecake typically needs to chill for at least 4-6 hours, but overnight is best for optimal firmness.
Can I use other cookies for the crust?
Yes, you can use other cookies like graham crackers or even chocolate chip cookies. Just ensure they complement the flavors of the cheesecake.
Is it possible to make this cheesecake dairy-free?
Yes, you can use dairy-free cream cheese and whipped topping to create a dairy-free version of this no-bake Oreo cheesecake.
What can I use instead of Oreos?
You can substitute Oreos with gluten-free cookies, or a different chocolate sandwich cookie, depending on your preferences or dietary needs.
Conclusion
This delightful no-bake Oreo cheesecake is not just a feast for the eyes, but also a treat for the palate. The combination of creamy filling and crunchy Oreos creates a harmonious balance that is sure to impress friends and family alike. It’s perfect for any occasion, whether it’s a birthday celebration or a casual gathering. Taking the time to chill it properly ensures that it sets beautifully, yielding a smooth texture that everyone will love. I encourage you to get creative with your toppings and pairings, making it uniquely yours. What variations have you tried, or do you plan to make? Share your thoughts and experiences with this delicious recipe!
FAQ
Can I use a different type of cracker?
Yes, different types of cookies or crackers can be used for the crust as long as they complement the flavor of the cheesecake.
What if I don’t have a food processor?
You can crush Oreos in a resealable plastic bag using a rolling pin or another heavy object if you don’t have a food processor.
How can I make this recipe gluten-free?
Opt for gluten-free Oreos or other gluten-free cookies when making the crust to ensure the cheesecake is gluten-free.
Can I add other flavors to the cheesecake?
Absolutely! You can mix in flavors like vanilla, peanut butter, or even add fruit purees to the cheese mixture for a different taste profile.