Introduction
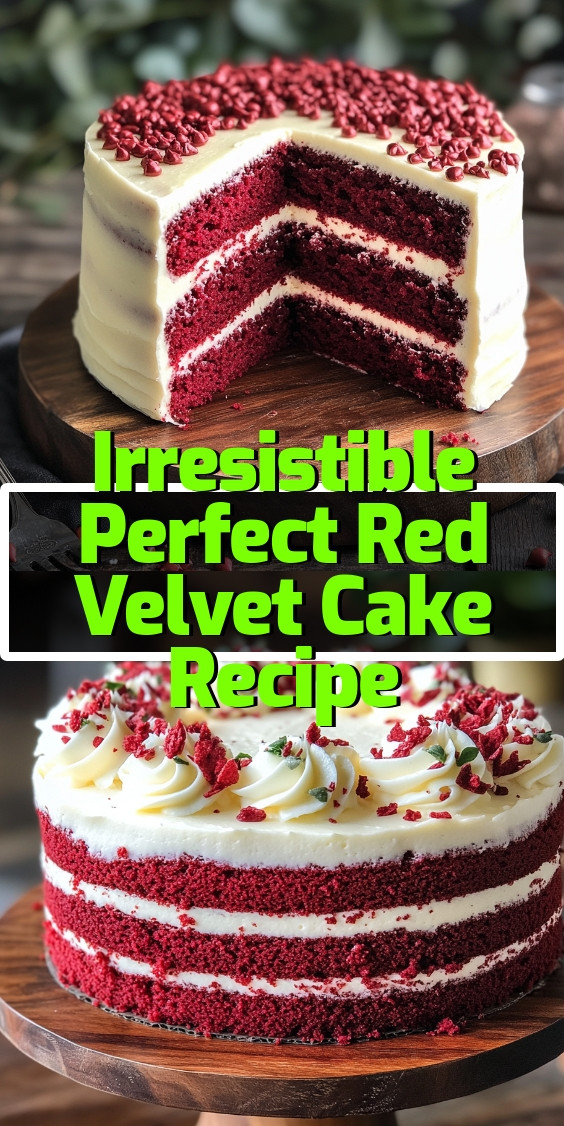
There’s something incredibly special about sharing a homemade dessert that warms the heart and brings people together. The Irresistible Perfect Red Velvet Cake Recipe is not just a treat; it’s a slice of joy that can turn any occasion into a memorable celebration. Whether it’s a birthday, anniversary, or simply a gathering of friends, the vibrant red hue of this cake combined with its velvety texture creates a visual and flavorful delight that captures the essence of love and togetherness.
Imagine the smiles and laughter that fill the air as you serve this delightful cake to your loved ones. Each bite is a moment to savor and cherish, allowing you to connect deeply with those you care for. The rich taste of cocoa paired with the cream cheese frosting is a combination that everyone adores, making it a centerpiece for your sweetest moments. With this recipe, you’ll not only create an unforgettable dessert but also beautiful memories that will last a lifetime.
Detailed Ingredients
- ALL-PURPOSE FLOUR. This serves as the base for your cake, helping create that signature soft texture we all love.
- SUGAR. A mix of granulated and brown sugar ensures sweetness and depth of flavor.
- COCOA POWDER. Just a little cocoa provides that rich, elegant touch in taste and color.
- BUTTERMILK. This ingredient adds moisture and a subtle tang that’s crucial to the cake’s flavor profile.
- VEGETABLE OIL. Using oil instead of butter keeps the cake incredibly moist and tender.
- EGGS. Two eggs are needed to bind everything and provide structure to the cake.
- VANILLA EXTRACT. This enhances the cake’s flavor, giving it a warm and inviting aroma.
- RED VELVET FOOD COLORING. This is essential for achieving that classic, vibrant red color.
- BAKING SODA AND VINEGAR. This powerful duo helps the cake rise beautifully and adds to the moisture.
- CREAM CHEESE FROSTING. The perfect creamy layer that balances the cake’s flavors and adds richness.
Preparation Time
- Prep Time: 20 minutes
- Cook Time: 30 minutes
- Total Time: 50 minutes
- Yield: Serves 8-10
Why we love this recipe
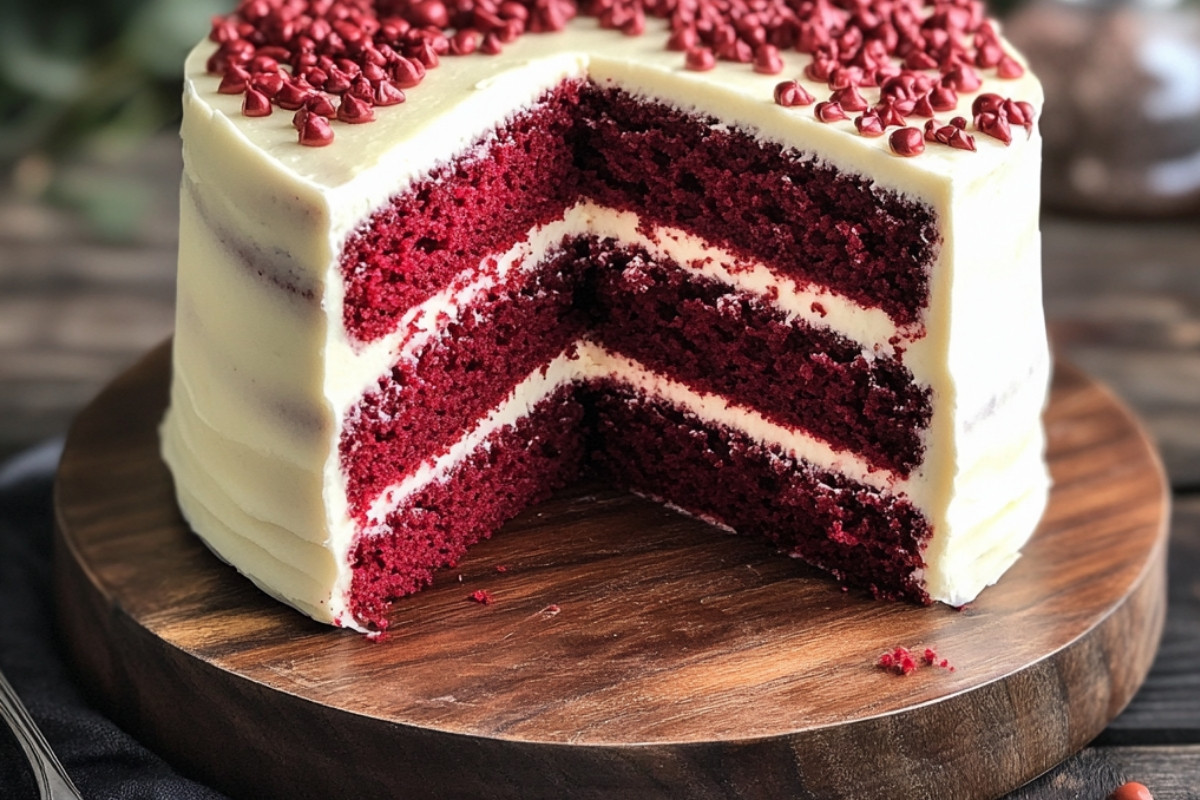
There’s something magical about a red velvet cake that evokes feelings of nostalgia and warmth. With its tender crumb and the luscious cream cheese frosting, every slice is a treat that delights the senses. The unique flavor profile, stemming from a combination of cocoa and buttermilk, creates a depth that keeps everyone coming back for more. This Irresistible Perfect Red Velvet Cake Recipe is not just delicious; it’s a way to show appreciation, love, and care to those you serve.
This cake shines as a centerpiece, especially when topped with decorative sprinkles or fresh berries. Its vibrant color makes it a showstopper at any gathering, instantly brightening the atmosphere. Moreover, it’s easy to make, allowing anyone to whip up a stunning cake regardless of baking experience. When you share this wonderful dessert, you’re not just sharing a treat; you’re sharing joy, creating connections, and making memories that will linger long after the cake is gone.
Step-by-Step Cooking Instructions
Now that you’ve gathered all your ingredients, it’s time to transform those vibrant components into a stunning red velvet cake. Follow these steps to create a dessert that dazzles not just the eyes, but also the taste buds. Each step is crafted to ensure that your cake turns out moist, flavorful, and simply unforgettable.
Detailed Directions and Instructions
Step 1: Preheat the Oven
Begin your journey by preheating your oven to 350°F (175°C). This step is crucial as it ensures your cake bakes evenly, yielding that perfect texture you desire. While the oven warms, take a moment to prepare your baking pans. Grease them well, or better yet, line them with parchment paper for easy removal later.
Step 2: Combine Dry Ingredients
In a mixing bowl, whisk together the flour, cocoa powder, baking soda, and salt. This simple action not only combines the ingredients but also aerates them. As you stir, envision the rich flavors melding together, setting the foundation for your delectable cake.
Step 3: Cream the Butter and Sugar
In another bowl, cream together the softened butter and sugar until light and fluffy. Use a hand mixer or stand mixer to make this process easier. As the mixture turns pale and airy, it’s a delightful reminder of how your cake will rise beautifully in the oven.
Step 4: Add Eggs and Vanilla
Next, incorporate the eggs, one at a time, and add in the vanilla extract. Beat well after each addition to ensure everything blends together seamlessly. This step enhances the flavors, making your cake even more scrumptious.
Step 5: Introduce the Buttermilk and Food Coloring
Now, it’s time for the buttermilk and red food coloring to shine. Alternate adding the dry mixture with the buttermilk, beginning and ending with the dry ingredients. Be cautious with the food coloring—add a little at a time until you achieve that gorgeous red hue. Stir gently until fully combined; you want to maintain that airy texture.
Step 6: Pour and Bake
Once your batter is fully combined, evenly distribute it between the prepared pans. Slide them into the preheated oven and set a timer for about 25-30 minutes. Your kitchen will soon fill with the sweet aroma of baking cake—a truly delightful sensory experience.
Step 7: Cool the Cakes
After baking, allow the cakes to cool in their pans for about 10 minutes. This waiting period helps to firm them up a bit. Then, carefully flip them out onto wire racks to cool completely. Patience is key here; let them cool fully before frosting.
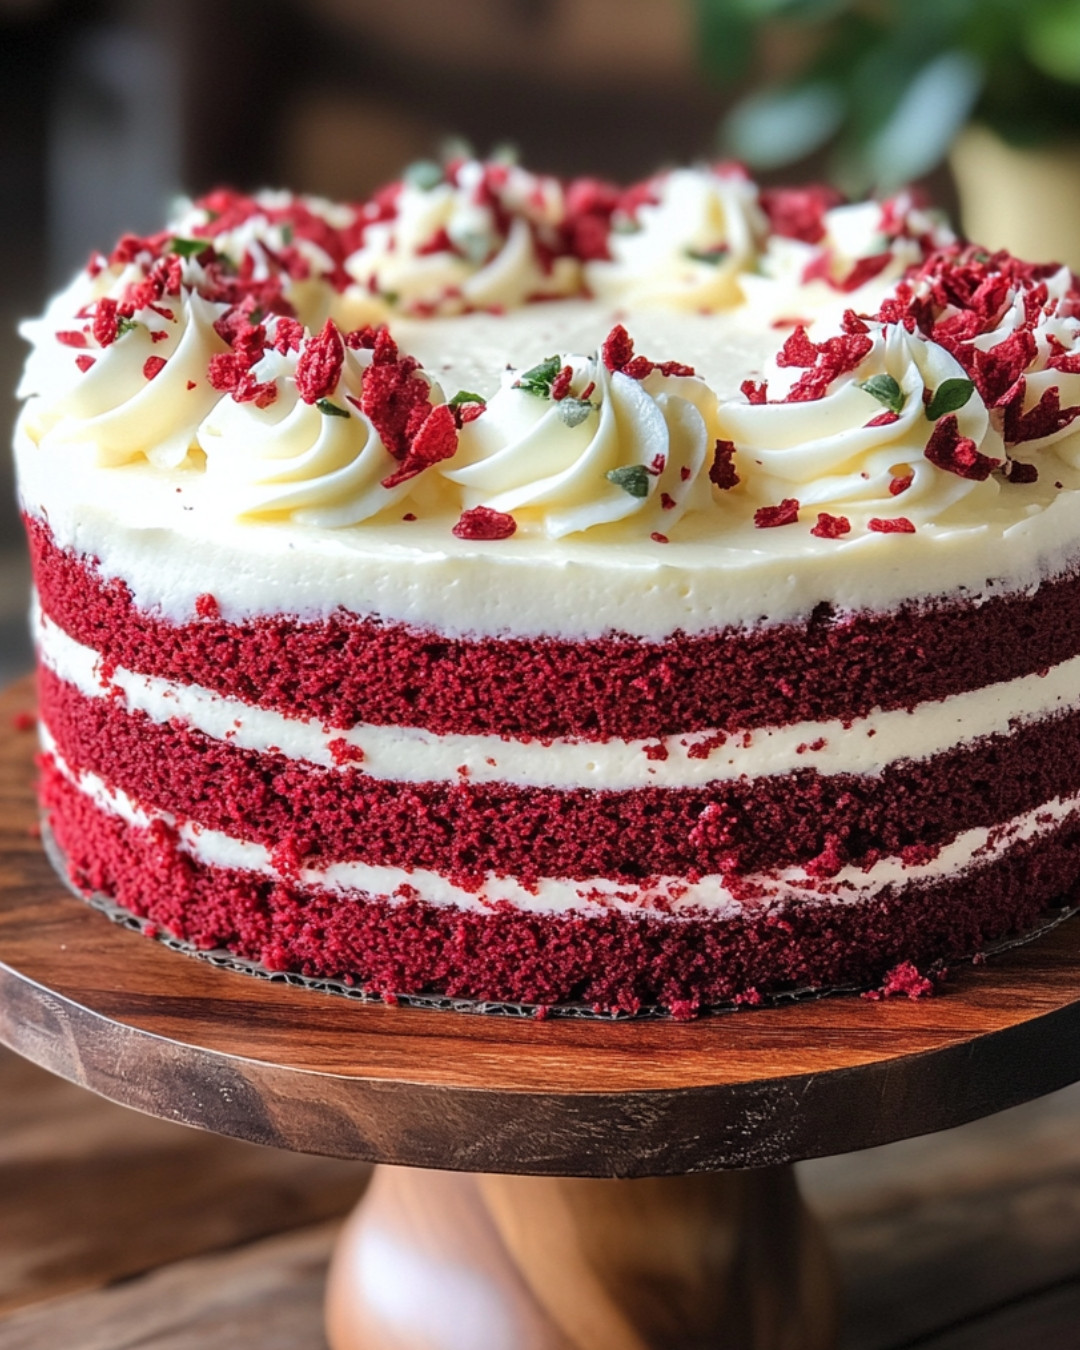
Step 8: Frost and Decorate
While your cakes cool, prepare your favorite cream cheese frosting. Once the cakes are completely cooled, generously spread the frosting between the cake layers first, then cover the top and sides. Don’t forget to get creative with decorations—sprinkles or chocolate shavings make for an enticing finish!
Notes
Baking Time Considerations
Keep an eye on your cakes as they bake. Ovens can vary in temperature, so start checking at the 25-minute mark to ensure they don’t overbake. A toothpick inserted into the center should come out clean when they’re done.
Chilling the Cakes
For easier frosting, consider chilling the cakes in the fridge for about 30 minutes. A slightly firm surface will make spreading the frosting a whole lot simpler and cleaner.
Storing Leftovers
If you’re fortunate enough to have some cake left over, store it in an airtight container at room temperature for up to three days. If longer storage is needed, refrigerate it for up to a week, always allowing it to come to room temperature before enjoying.
The Joy of Baking Together
Baking is not just about the final product; it’s also about the experiences shared in the kitchen. Gather family or friends around and let the laughter and joy flow as you mix, fold, and frost. Each layer of cake you build becomes a memory, blending flavors and love.
Transforming Ingredients into Art
Red velvet cake is a stunning canvas for creativity. Beyond frosting and decorations, consider infusing flavors into your batter like coffee, coconut, or even a hint of almond extract to give it a personal twist. The more you experiment, the more you discover your signature taste!
A Slice of Celebration
This cake is perfect for special occasions, be it a birthday, an anniversary, or just a delightful treat to share with loved ones. Its vibrant color and rich flavor make it an instant centerpiece. When you serve a slice, watch as smiles light up the room—after all, everyone loves a good slice of cake!
Cook techniques
Measuring Ingredients Accurately
Carefully measure ingredients using standard measurement tools to ensure the cake rises properly and has the right texture.
Mixing Technique
Cream the butter and sugar until light and fluffy. This aeration is crucial for a light and tender cake.
Checking Doneness
Perform the toothpick test by inserting a toothpick into the center of the cake. If it comes out clean or with a few crumbs, the cake is ready.
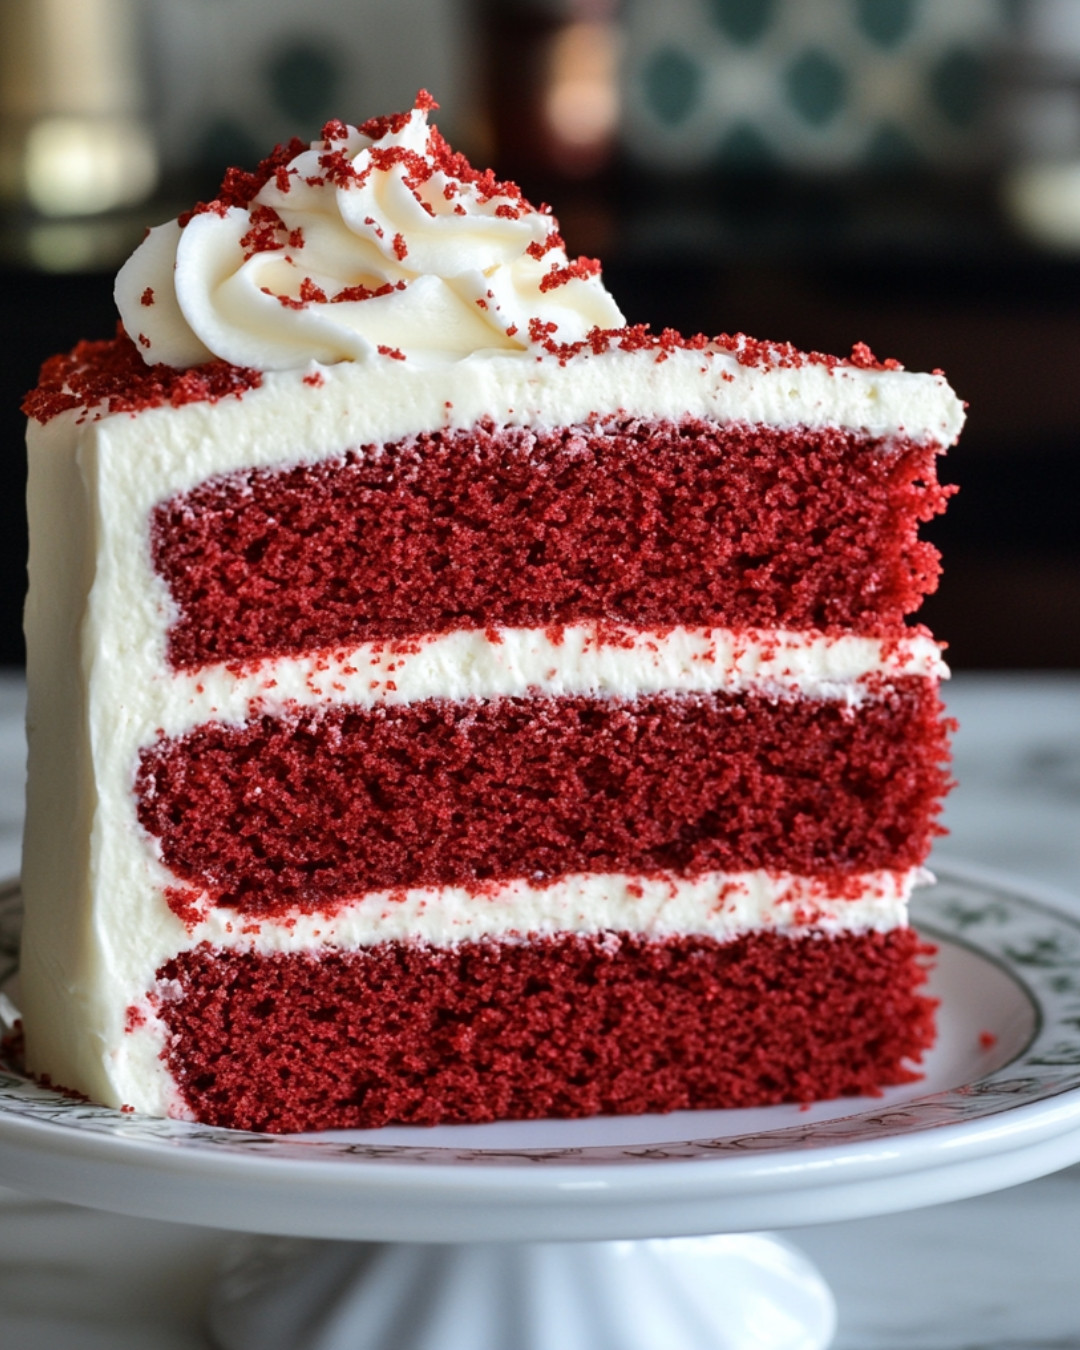
Serving and Presentation Ideas:
Consider serving the red velvet cake with a dollop of cream cheese frosting on top. Adding fresh berries or a sprinkle of cocoa powder can enhance visual appeal. Pair it with a scoop of vanilla ice cream or a cup of coffee for a delightful dessert experience.
People Also Ask :
What is the flavor of red velvet cake?
Red velvet cake has a unique flavor profile that combines a hint of cocoa with a slight tanginess from buttermilk, leading to a rich yet light taste.
Is red velvet just red chocolate cake?
While red velvet cake contains cocoa powder, it is not just chocolate cake. The vibrant red color and additional ingredients give it a distinct flavor and texture.
Why is it called red velvet?
The name “red velvet” stems from the cake’s soft, velvety texture and its signature red color, which is traditionally achieved through the use of cocoa powder and red food coloring.
What is the difference between red velvet cake and normal cake?
Red velvet cake has a unique flavor due to the addition of cocoa powder and buttermilk, along with its signature red color, setting it apart from regular vanilla or chocolate cakes.
What is velvet made of?
In baking, “velvet” refers to a cake’s soft and moist texture, achieved through specific folding and mixing techniques, resulting in a light crumb.
Conclusion
Red velvet cake symbolizes indulgence and celebration, captivating taste buds with its unique flavor and stunning appearance. As you bake this delightful treat, remember that each step contributes to its magical texture and taste. Share it with loved ones to create lasting memories. Have you ever tried variations of red velvet cake? Perhaps a twist with different frostings or flavors? I would love to hear your experiences and ideas!
FAQ
Can I use a different type of food coloring?
Yes, you can experiment with various food colors to create unique looks while maintaining the cake’s other flavor profiles.
How can I make my cake more moist?
To enhance moisture, consider using additional buttermilk or a simple syrup soak after baking.
Can I make red velvet cupcakes instead?
Absolutely! The same batter can be used to create delicious red velvet cupcakes, simply adjust the baking time accordingly.
What can I substitute for buttermilk?
You can create a buttermilk substitute using milk and lemon juice or vinegar if you don’t have buttermilk on hand.
How should I store leftover red velvet cake?
Store the cake in an airtight container in the refrigerator to maintain its freshness for several days.